This Coffee Natilla Recipe is a step by step guide to making one of the best Cuban desserts, Natilla. However this recipe has a little added kick.
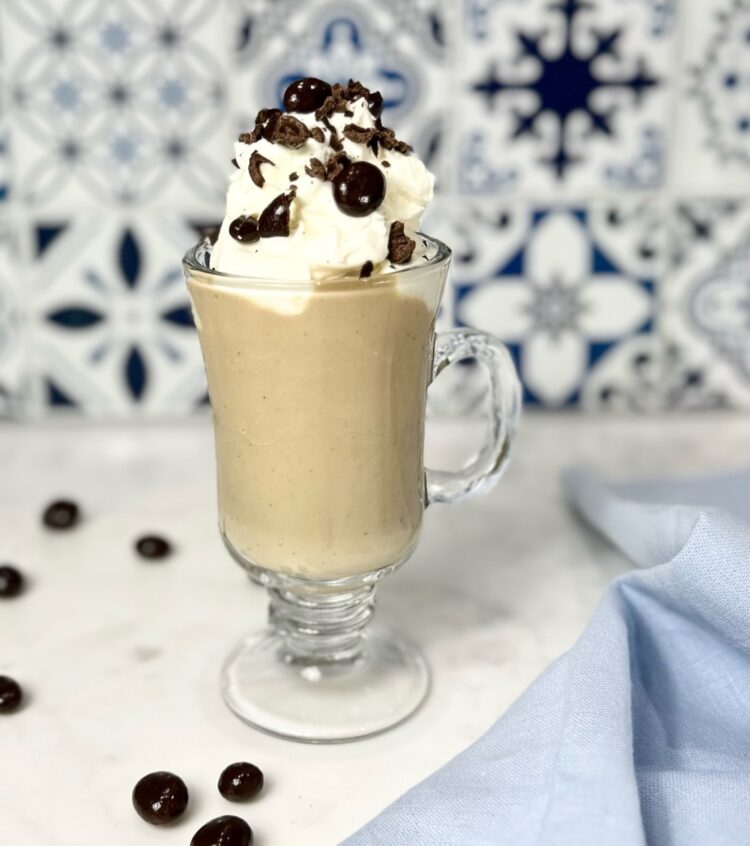
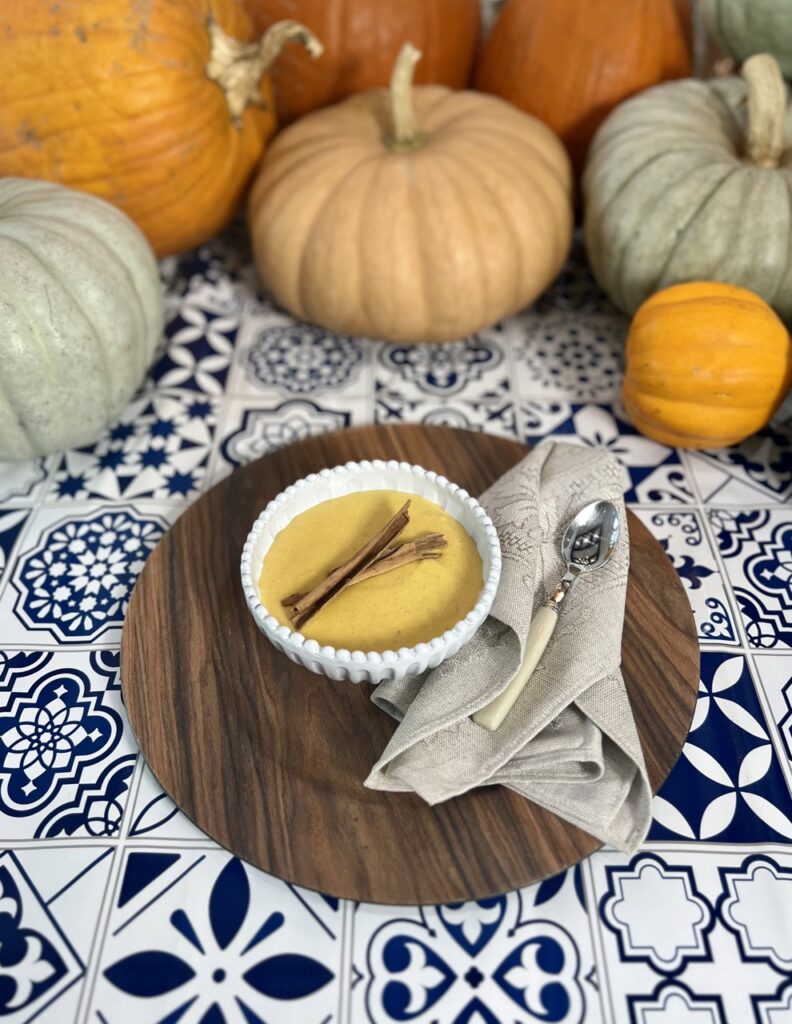
Coffee natilla hits all the spots you’d expect. It is decadent, creamy and perfectly sweet. Much like our pumpkin natilla, it is not overly sweet. The coffee gives a lot of balance. The flavor is reminiscent of a café con leche, a Starbucks iced coffee and an affogato rolled into one.
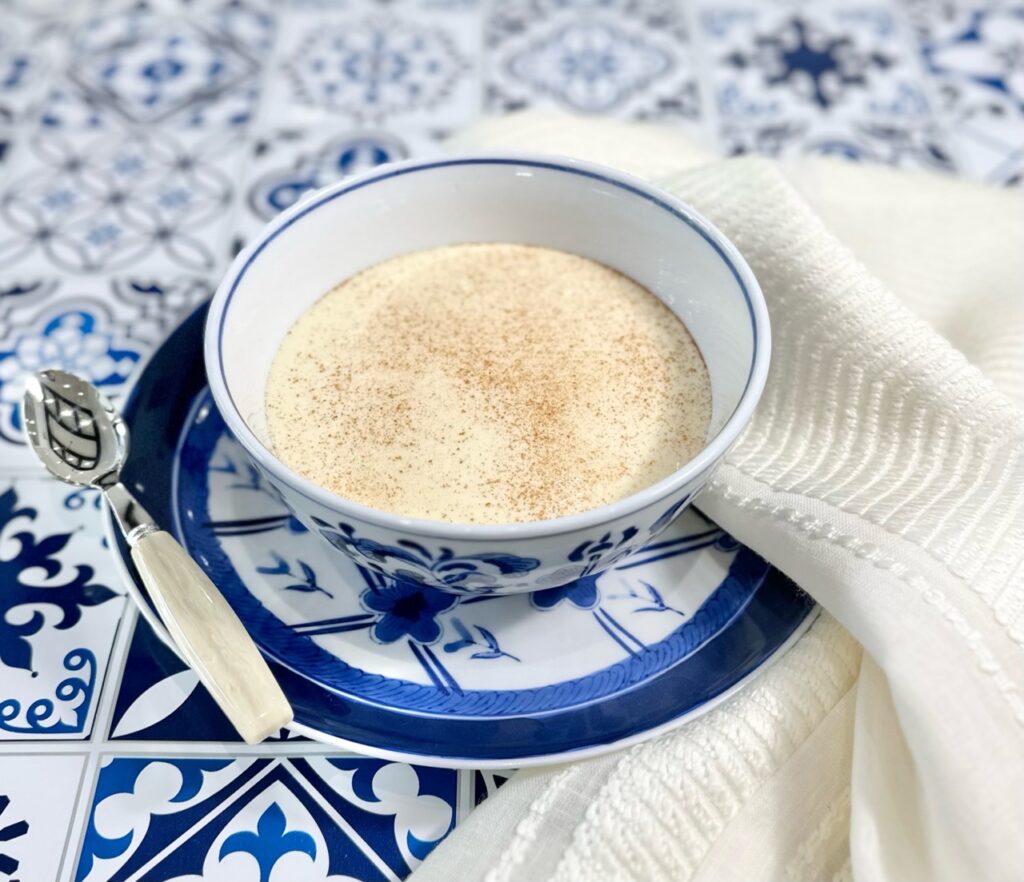
Our traditional natilla recipe, which is a silky custard, is fused with espresso for this recipe. It’s just the right mix of familiar and modern flavors. Its deep and rich coffee is tamed by the luscious milk.
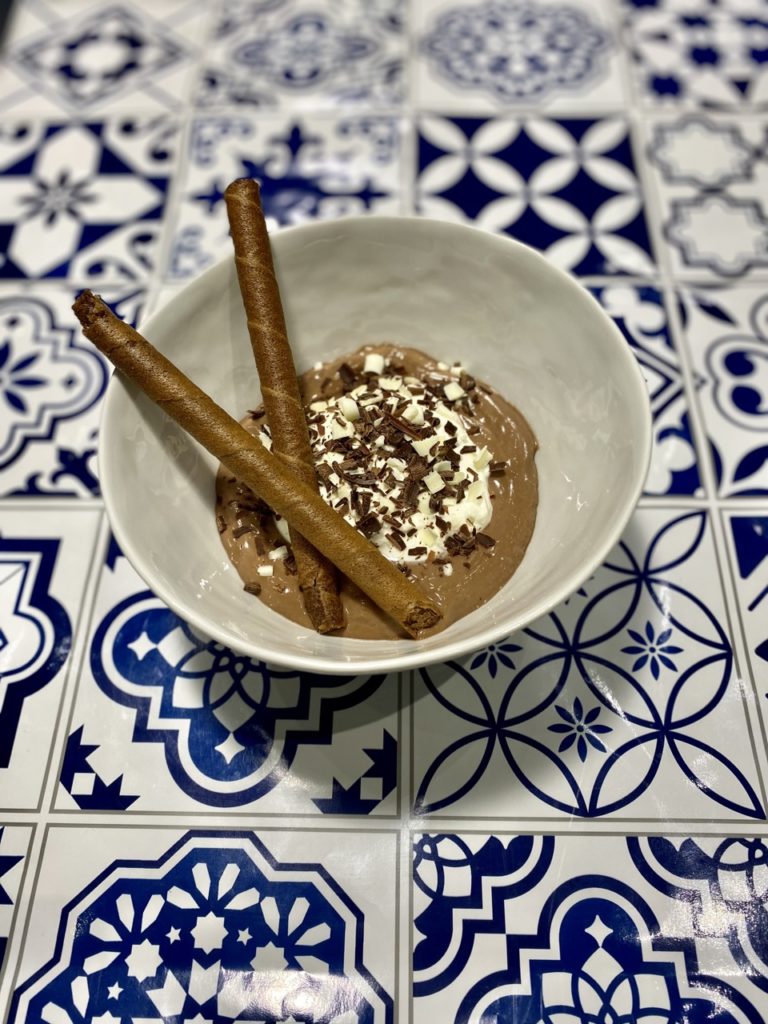
Natilla is definitely our most versatile dessert. Just on this site, there are so many different versions on this classic Cuban dessert.
Why Do We Use Instant Coffee in this Recipe instead of Espresso?
We use instant coffee in this recipe. The trick to this recipe is that you want to intensify the natilla without adding more liquid. If you add espresso that has been brewed, you run the risk of watering it down and not capturing that true coffee flavor.
Our tips for Making this Very Delicious Coffee Natilla
- If you love the taste of coffee, taste the natilla once coffee has been added and add a tablespoon or two per your taste. If you are really into coffee, add a teaspoon or two of the instant coffee to the cream. This will amp up the coffee flavor.
- The recipe calls for regular instant coffee, but it can be substituted for decaf.
- Once you start this recipe, you are committed for the next 10-12 minutes! Put away all distractions!
- IMPORTANT! Everyone is working with a different stove. The timing and heat found below aligns more with a gas range. If you have an electric stove, adjust the heat accordingly. it may take a few extra minutes to thicken and get hot enough. Be patient and watch it.
- Do not add the coffee to the pot because it could burn. This is why we add it in a bowl once it is strained.
- Natilla is traditionally served cold. Allow it to set in the fridge for a few hours before serving and garnishing.
- Natilla doesn’t need a garnish but we love decorating it with freshly whipped cream and chocolate covered espresso beans.
If you are looking for other Cuban Dessert Inspirations, check out our:
Let’s Cook!

Coffee Natilla (Natilla de Cafe)
Course: DessertCuisine: CubanDifficulty: Easy10
servings10
minutes20
minutesIngredients
-
1 can (12 oz) of evaporated milk
-
1 can (14 oz) of condensed milk
-
3.5 cups of whole milk, room temperature, divided
-
¼ teaspoon of salt
-
4 egg yolks
-
¼ cup of corn starch
-
¼ cup of cold water
-
½ cup of instant espresso powder
-
1 tablespoon of vanilla
-
Garnish: Whipped cream, chocolate covered espresso beans or chocolate shavings
Directions
- In a small bowl mix together the cornstarch and the water with a whisk. Set aside.
- In a blender add only 3 cups of milk and all the other ingredients and blend on high for 1-2 minutes to incorporate. Then add the cornstarch and water as well. Blend.
- Using a fine mesh sieve, add the blender mixture into a heavy bottom pot. I like Le Creuset.
- Heat the pot to medium. Mix with a rubber spatula or whisk constantly. Once you start this recipe you are committed for the next 10-12 minutes! It will start to thicken after 6 minutes depending on your level of heat.
- Once you start seeing bubbles, drop heat to low and continue to stir constantly. Once the bubbles form it’s a sign the natilla is cooking but you don’t want it to burn or over cook. Again- you can’t step away.
- If you feel the bottom of the pan sticking, don’t scrape it. Just let it be and slowly mix only the top until it is very thick and bubbling vigorously.
- Set a fine mesh sieve on top of a large bowl. Don’t skip this step! Strain the natilla mixture over the sieve.
- Whisk in the coffee. Mix until it is completely blended. The heat will allow the coffee to completely incorporate.
***You don’t want to add the coffee to the pot because it could burn. This is why we add it in a bowl once it is strained. - Once the coffee is totally incorporated, add the remaining milk. This will stop the mixture from continuing to cook and thicken.
- Whisk in the vanilla extract. Taste it. This is when you would add another tablespoon of coffee if you like it very strong.
- Serve in small individual portions or in a large ramekin. Let it set in the fridge for two hours up to overnight. When you are ready to serve, top with whipped cream, and coarsely chopped chocolate covered espresso beans.