
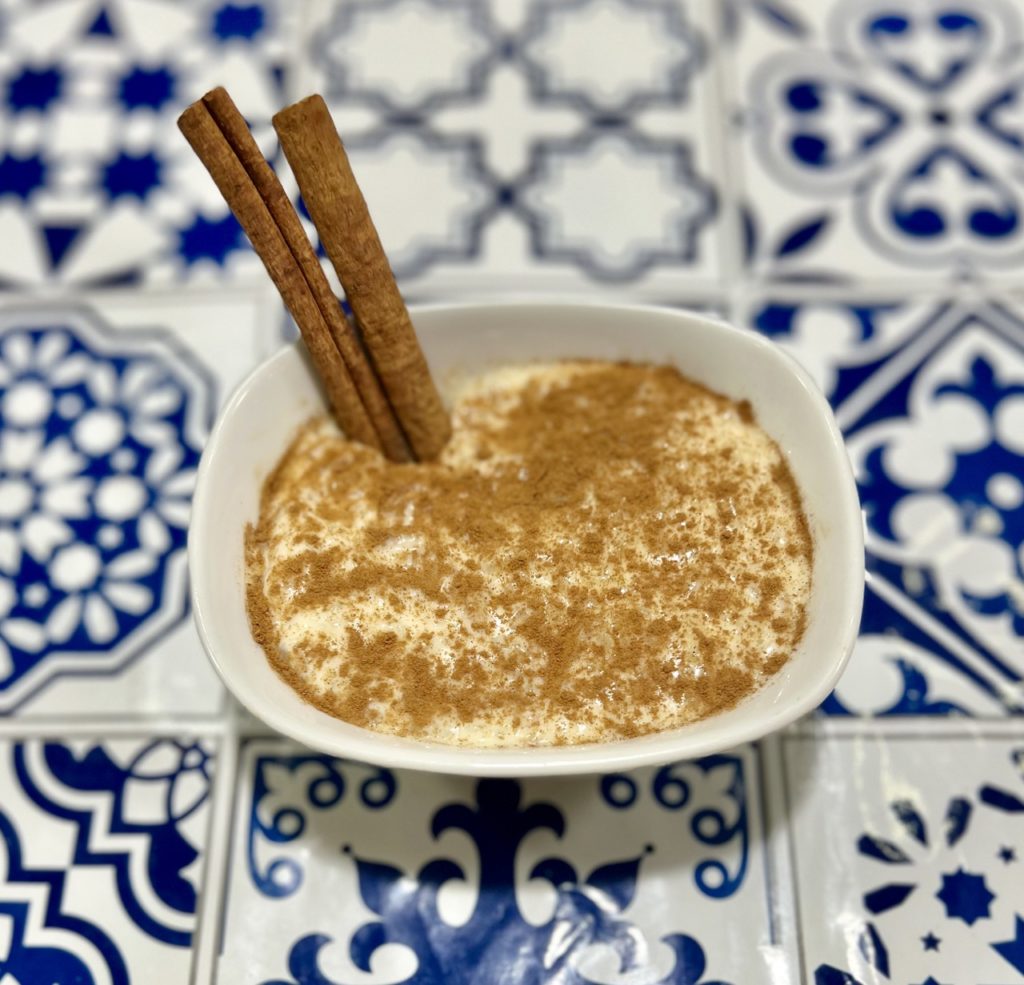
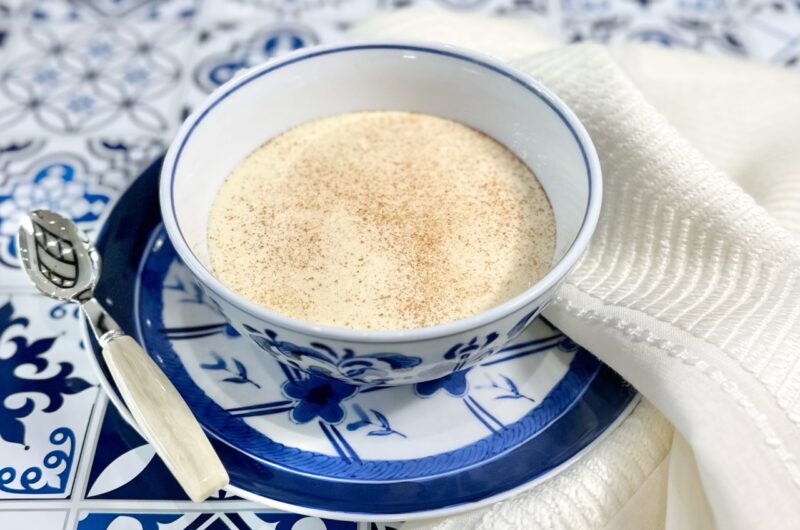
Abuela’s Natilla Recipe is going to be your step by step guide to reaching Cuban dessert heaven. This rich Cuban egg custard is a nostalgic dessert passed down through generations. Sweet, spiced, and simple.
Want to see exactly how Abuela’s Natilla comes together? Watch the step-by-step video below to follow along with me us in the kitchen. From mixing, properly cooking, to showing you what to look out for — this video will walk you through every step.
(Don’t forget to subscribe to our YouTube channel for more Cuban comfort food!)
Natilla is not out of reach. We won’t lie to you there are a few minutes while making Natilla that requires your full attention. But it’s not “hard”. Even if it was, YOU can do hard things- and this recipe will help!
What is Natilla?
You will find Natilla at the top of any Cuban Dessert list. If you know anything about Cuban dessert- you know there is some serious competition. Each bite is a creamy, luscious, spoonful of heaven.
Natilla is a descendent of the Crema Catalana. It is a comforting blend of leche condensada, evaporada, whole milk, and eggs. These ingredients are blended together along with a little bit of corn starch, and then heated on the stove top to thicken and become a delicious luscious dessert.
The Trick to Our Perfect Abuela’s Cuban Natilla
It’s an intimidating one to make. Natilla has a reputation for being tricky to make. We have a working theory that Abuelas all over decided to scare the grandkids away from making it for fear that we wouldn’t need to come to their house to get it anymore. It’s genius, we would always have to come to them if we needed a hit of our favorite Natilla fix.
The trick is your attention. The Natilla gets tricky when heating this mixture. You have to give it attention and love, or your eggs will cook and “curdle”. This creates lumps in the mixture, and you want to avoid lumps. Nobody wants a lumpy Natilla.
The lesson here is if someone calls you or texts you when you’re in the middle of mixing your Natilla, tell them you’re busy. In fact do not even answer. They are going to have to understand. Natilla above everything.
But seriously, listen to us. Even if your natilla does curdle or burn a little on the bottom- we need you to journey on. Don’t try to scrape the bottom in an attempt to save the natilla. When you scrape the bottom you are bringing that into your mixture. Let it go. Leave whatever sticks to the bottom alone. We want you to continue to stir the top of the natilla. Once it’s cooked you are going to pour this through a strainer, so everything that stuck to the bottom will stay there and your Natilla will remain luscious and creamy.
Some Things You May Need to Reach Natilla Perfection
A heavy bottom pan like THIS one and a good blender, or an immersion blender to make sure everything comes together smoothly.
We went through a few recipes and methods, and feel this is the most straightforward way for you to achieve Natilla nirvana. Take it easy and know that you can do this.
Some of our other favorite Cuban Dessert Recipes:
Take out that leche condensada and let’s get going.
Abuela’s Natilla
Course: DessertCuisine: CubanDifficulty: Moderate12
servings10
minutes40
minutesIngredients
-
1 can (12 oz) of evaporated milk
-
1 can (14 oz) of condensed milk
-
3 ½ cups of whole milk
-
1/8 teaspoon of salt
-
4 egg yolks
-
1/4 cup of cornstarch
-
1/4 cup of cold water
-
2 sticks of cinnamon
-
1/2 a vanilla bean cut lengthwise
-
2 teaspoons of vanilla extract
-
Ground cinnamon for dusting
Directions
- In a bowl mix together the cornstarch with the water until it is completely dissolved make sure it is not grainy. Keep to the side.
- In a blender or food processor add the whole milk, evaporated milk, condensed milk, egg yolks, and salt. Mix on high. Then scrape the sides to be sure everything is incorporated.
- Add the cornstarch mixture into your blender (no need to blend again). Then take this mixture and pour over a fine sieve strainer into a heavy bottom pot. Turn heat to medium high. Add the cinnamon sticks, vanilla bean, and the vanilla bean seeds you scraped out (check Instagram video for help coming Thursday 2/17).
- IMPORTANT: Once you start this recipe you are committed for the next 12-15 minutes (estimate). You need the mixture to become very hot, almost bubbling but not more than a few bubbles. Mix constantly with a wooden spoon or rubber spatula. It will start to thicken after about 6 minutes. But it could be longer. Not all stoves are the same. Notice the changes. You need to wait for it to be very thick, it should coat the spoon when you remove it from the mixture.
BE PATIENT. If you feel the bottom of the pan is sticking don’t scrape it. Just let it be and slowly mix the top portion only. - Drop to low only once the mixture is thick and coating your spoon. You know it’s ready when you remove the spoon and the mixture is coating it. Turn your heat to low and continue cooking for another 5 minutes stirring slowly.
- Remove from heat. Let it cool for 5 minutes. Pour over a fine sieve into a glass bowl. Let it cool slightly. Then add the vanilla extract and whisk well. Cover with plastic wrap.
- Let it set in the fridge a few hours. Serve with a sprinkle of cinnamon.